How to Make a Rundown Building Using Foamcore
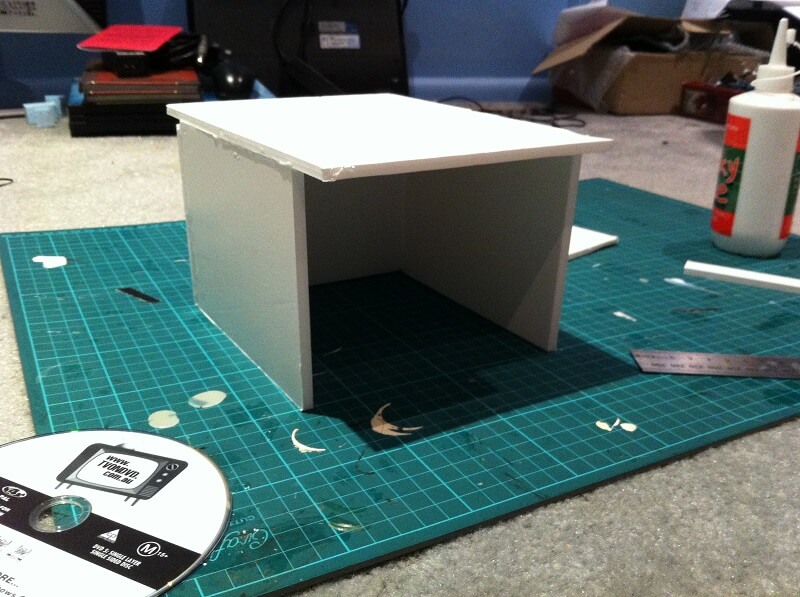
Time in the Mancave is pretty limited, but in the last couple of weeks, I’ve been able to put together a scenery project. It’s part of an ongoing scenery project. Grabbing the occasional hour here and
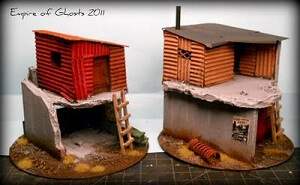
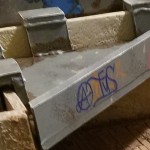
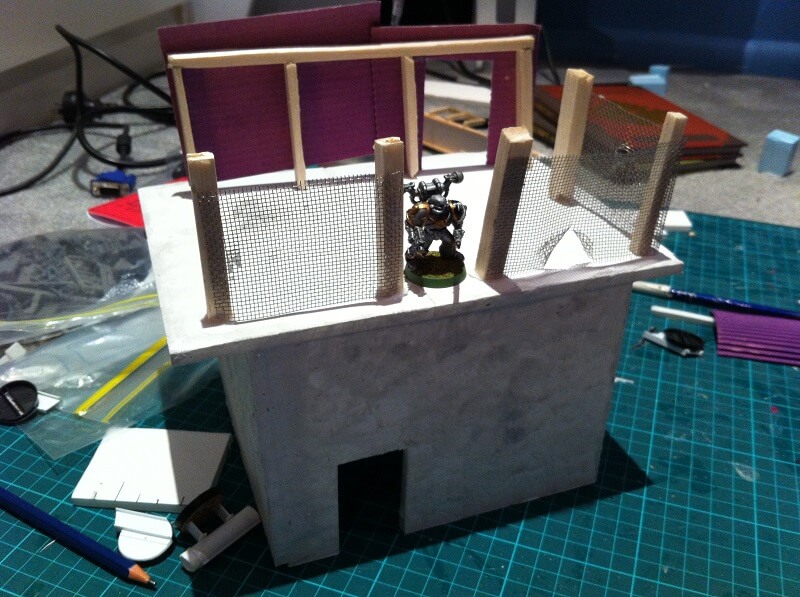
It’s concrete slabs supporting a ramshackle construct on top. I am still trying to keep it fitting with Infinity and various other sci-fi type games.
One of the other main attributes that I am looking for is that the scenery blocks line of sight and/or offers cover.

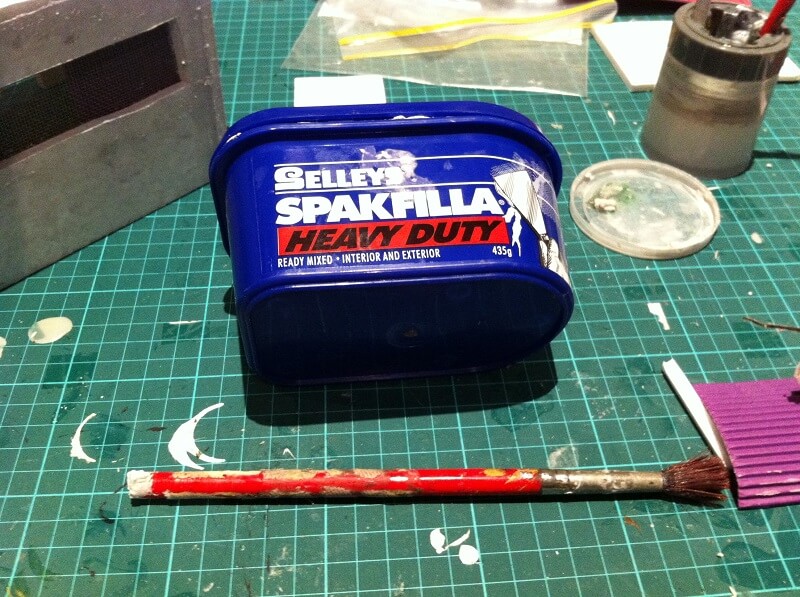
Following some advice from Owen at Terrain For Hippos, I found a better alternative for creating a surface for buildings than toilet paper and PVA glue.
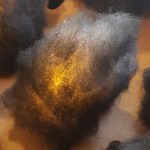
It turns out that Selley’s SpakFilla is water soluble and if you get some on a palette and add a fair amount of water, it will eventually turn into a textured paint.
My advice is to get an old paintbrush that you won’t miss and use that to apply the “paint”. The vigorous application of the paint, and the paint itself, will degrade the quality of the paintbrush rapidly!
On the plus side, the SpakFilla and water mix

You can be as liberal or sparse applying the textured paint. I chose to mix it up a bit, also playing with the consistency of the SpakFilla and water mix to see what the end result is.
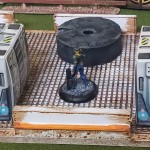
The intention is to create more line of sight blocking terrain, the lonely fella standing in front of the building shows that it should be big enough to hide most tanks, TAGs and big monsters behind.
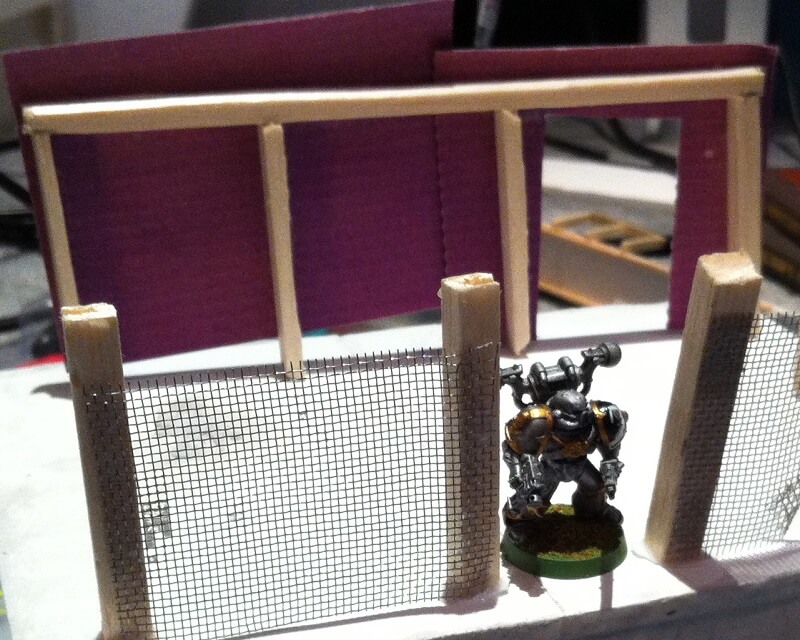
You should stop applying the textured paint until the roof is complete. Using skills as a very amateur carpenter, I constructed a wall section from icy pole sticks, PVA glue, and corrugated cardboard. Again, precise measurements were not in the front of my mind.
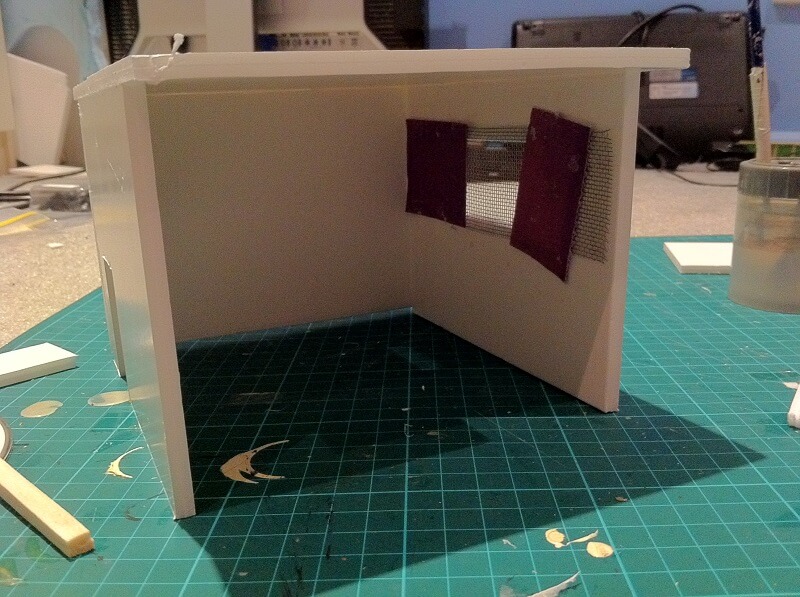
The fence is made of balsa wood cut to length and flywire cut to size is glued in place using Super Glue.
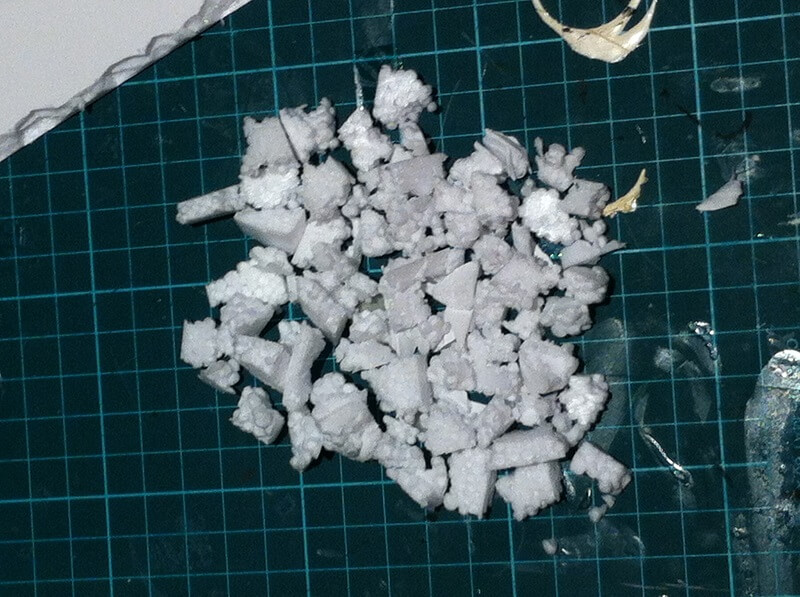
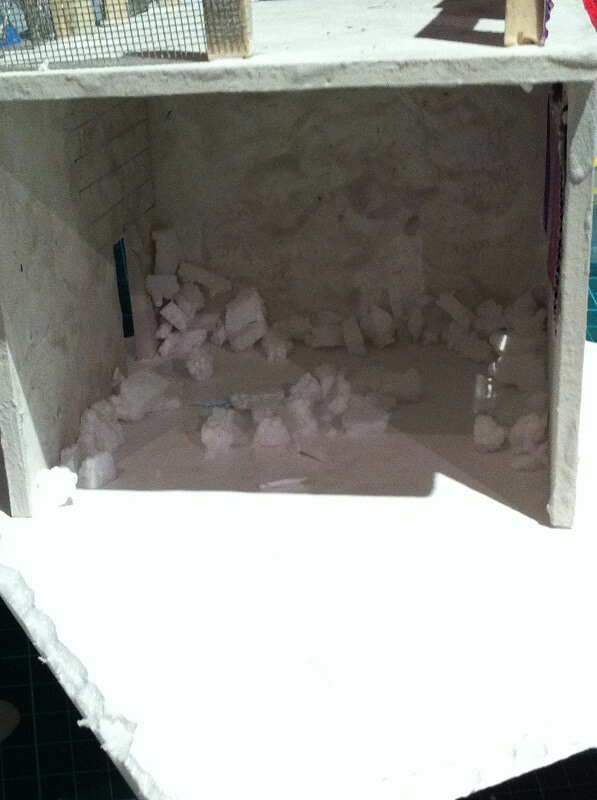
The last thing to do is create some rubble to glue down on the ground of the concrete structure. I smashed up a bit of foam, but you could easily use foam core or any suitable material.
Keep in mind, foam and spray paint do not play well together! If you use spray undercoat, I would highly recommend sealing the “rubble” with PVA glue or some more of our textured paint after it is stuck down to stop it dissolving.
At the end, you have a pretty satisfactory, line of sight blocking, piece of terrain. The addition of ladders and ways to climb to the top would be cool too. I am thinking that more concrete slabs smashed into the back or sides would be cool to make stairs.
Just to add some stability, I have also mounted the whole thing on a piece of spare foam core. Once it’s textured with dirt and coated in PVA, the whole piece should be more resilient.
Further iterations of this piece could be built smaller for sticking on CDs or larger as you see fit. And you can mess around with the design of the shack on top too.